Showing posts with label tutorials. Show all posts

Wednesday, October 20, 2021

Trashy town tutorial

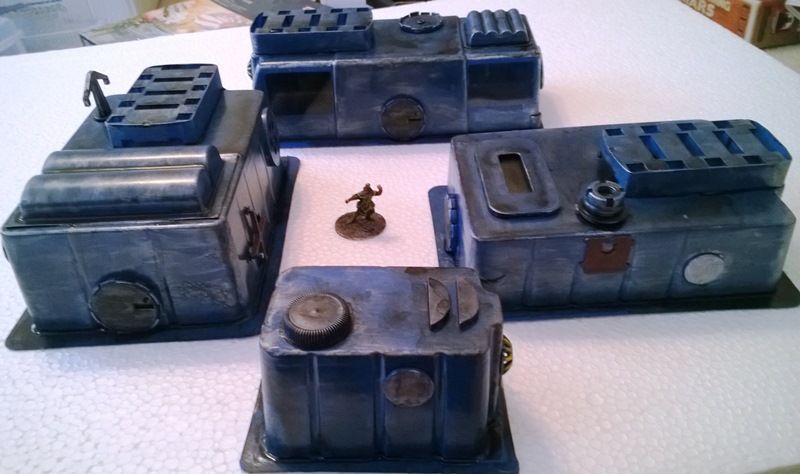
My trashy buildings were easy to make, and other than waiting on paint to dry, didn't take very long to finish. And other than the cost of paint and glue, which I already had, it didn't cost me a cent. For those who are interested, I have some step-by-step photos of each building and a little commentary after the jump:

Wednesday, December 5, 2012

Painting experiment


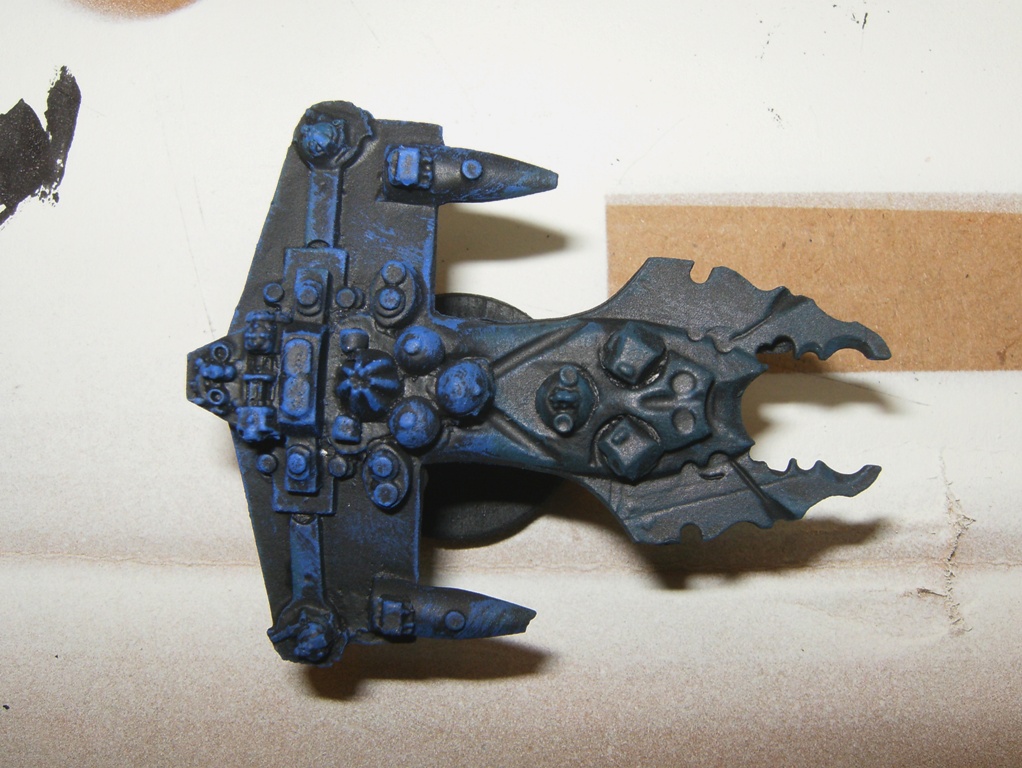
Since I haven't painted a miniature starship in quite some time, I thought I'd experiment with a paint scheme idea on some ships I've had primed for awhile. I took some models that were flat black and added random flecks of bright.
The concept was to dip an old toothbrush in some white and yellow paint, then run my finger along the bristles to flick the paint onto the mini in random speckles to simulate a starry sky.
I wanted to give these minis the look of a cloaked (or at least deep-space camouflaged) ship.  At first I couldn't make up my mind if I was happy with how this looks or not.  But after looking at them on the tabletop instead of a closeup photo, I think they'll work for wargaming. 
I may go back and add some drybrushing, but other than that, these ships are done!  Now, to decide what faction they will be.  I'm thinking space pirates ...

Monday, April 4, 2011

New moon

What started as a styrofoam hemisphere became a new piece of terrain (pictured above) for my Galactic Knights scenario at ChimaearaCon.  So instead of talking about the game, I'm going to procrastinate and post a step-by-step tutorial for painting a natural satellite for my planet.  First, I primed it gray.
Next, I gave it a black wash to bring out the shadows in the indentations to simulate craters.
It was a little too dark after that, so I drybrushed it various shades of gray.
Then it was too light, so I gave it another wash, this time dark gray, followed by light gray drybrushing.
As seen at the top of the page, the new moon looks pretty good on the table, although it didn't play much of a role once the scenario began.  I'm out of time now, but I'll blog more about the actual game later, I promise.

Sunday, February 20, 2011

Basing spaceships

I've been asked how I base my spaceship miniatures.  It's a fairly simple process using wooden disks from a craft store, fender washers, regular wire nails and superglue:

First, I remove the backing from the disk and attach the washer.  Even though the disk has adhesive on it, I still apply super glue, because I've had the assembly come apart when I didn't glue it first.

I hold it together for several seconds, then I drive a nail through it from the bottom.  Note the use of a magazine to prevent holes in my kitchen table:
 

The finished product looks like this:

And here you have it with the mini attached:

Easy and cheap, which is how I like my miniatures gaming.

Friday, February 4, 2011

Tutorial: Entomolian Attack Carrier

My Entomolian cruisers need something to escort, so I also painted an Ent carrier.  It's pretty much the same method I used for the cruisers, but slightly different because of the large, flat surfaces on the larger ship.

Once again, I start with the ship primered in flat black:

Next, drybrush green in front, blue (or blue-violet) in back:

Then, metallic peridot on the bow, metallic periwinkle on the stern.  I kind of press down on the brush for a slight stippling affect in order to bring out the grooves on the carrier deck:

After that, metallic emerald green goes on the rear half:

Next, metallic plum in front, blending in with the third coat in back for an organic look--there's no hard-and-fast line where one shade ends and the other begins.

Finally, I highlight the bridge superstructure (starboard) and the smaller flight control center using yellow ochre, bright yellow, and metallic gold:

And here you go, another Entomolian attack carrier ready for action:


Thursday, February 3, 2011

Tutorial: Entomolian Cruiser

Sometimes I use more than three colors to paint a miniature starship.  For example, with the insectoid Entomolians I wanted to go with an iridescent look, like the carapace of a beetle.  It's the same concept as how I paint my Terran ships, but I enjoyed applying additional colors.

Again, I start with a flat black coat of spray paint for a primer:

Then, Americana Blue (or Blue Violet) on the rear half and Anita's Fathom Green for the front:

On top of those go the Folk Art Metallic Periwinkle (back) and Metallic Peridot (front).  It's OK if the colors overlap a little in the middle; that just smooths out the blend and makes it look organic:

Next, Metallic Emerald Green (from Folk Art) on top of the rear colors.  Again, there are no hard borders for any color on these ships:

And Metallic Plum in front--although I might have overdone it a little on this one:

Finally, I highlight the bridge with successive drybrushes of Yellow Ochre, Bright Yellow, and Metallic Inca Gold (all Folk Art except the Bright Yellow, which is Americana):

As seen below, this paint scheme gives the bugs a colorful look without a painstaking effort on my part, and I find it enjoyable to use a greater number of colors:

How do you paint your insectoid aliens' starships?
Wednesday, February 2, 2011

Tutorial: Painting a Terran Ship


I've been asked about my painting technique, so here's a quick tutorial for how I paint my Terran starships.  First, I prime the ship with flat black spray paint (no hobby store brands; I just use Rust-Oleum or Krylon from the local hardware store):

Next, I drybrush the ship in the darkest color of the tripartite scheme I'm using.  Again, no special game store paints; just craft paints from hobby stores.  In this case, for the Terran Red Fleet, I start out with Anita's brand Rust Red (which actually looks sorta brownish to me):

Next, I drybrush the intermediate hue.  Here, it's a much brighter True Red from Americana:

Finally, the last color, lightest of the bunch.  Here, the Metallic Antique Copper from Folk Art gives a nice glowing effect to the ship:

It's not gonna win any awards, but I paint to a tabletop standard--and this ship looks pretty good on the tabletop:
My three-color drybrush technique is a quick method that allows me to field large numbers of starships on the gaming table.  But it's not the only way to paint.  What are some of your methods of painting your spaceship miniatures?

Saturday, October 30, 2010

The terraforming process

As you may know, I'm running a Galactic Knights game at Millennium Con.  It's a planetary invasion scenario, so I needed something on the table to represent Regulus IV.  After I blogged about the completed project, people have asked me how I went about painting it.  Here's the shorthand version of how I detailed my planet:

Step 0: Dry Foam Hemisphere


Step 8: Planet

For the longer version of how I did it, see after the jump:

Steps 1-7: ???????